LED Module Repair
Tools required:
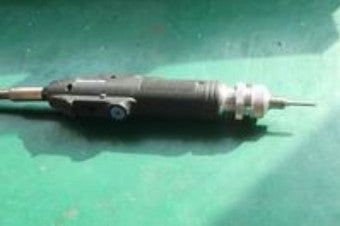
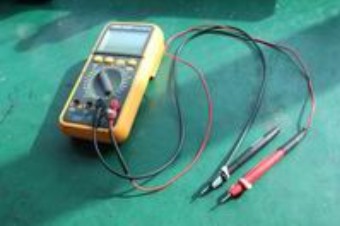
Electronic screw driver Multimeter
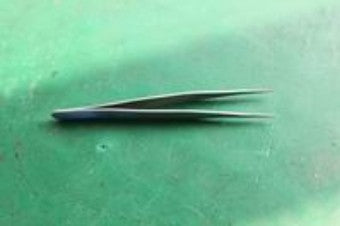
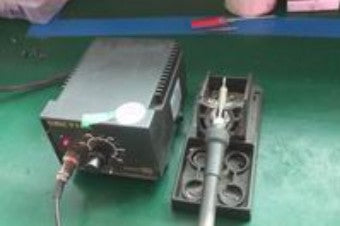
Tweezers Soldering machine
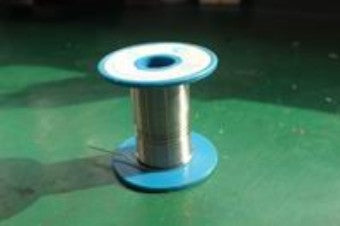
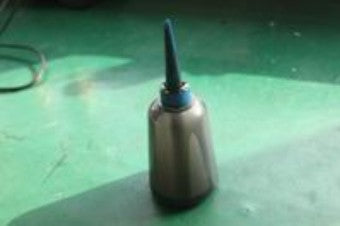
Tin thread Silicon glue
LED lamps do not work or light constantly, possible is the LED module issue. Check the LED module as follows.
1.1 Use screwdriver take out the mask screws.
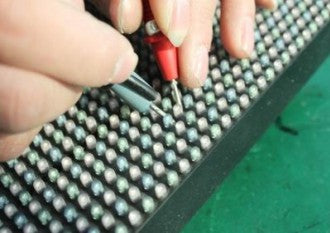
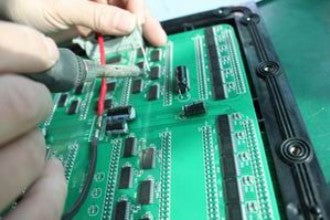
1.2 Find out the issue LED lamp, test it by multi-meter, if there is not resistance, which shows the LED lamp damaged.
1.3 Use tweezer to scoop the glue around this LED lamp, then use iron and tweezer take out the damaged LED lamp.
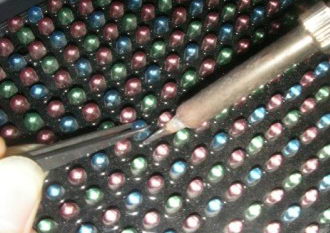
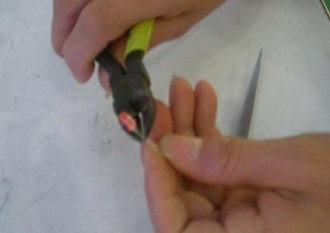
1.4 Take one spare part LED lamp, and test it by multi-meter, then cut the LED pins, keep the length with in 6 to 7mm, and solder it by iron.(Attention please the positive and negative poles, normally the longer pin is the positive poles, the square based hole on the PCB for positive pole)
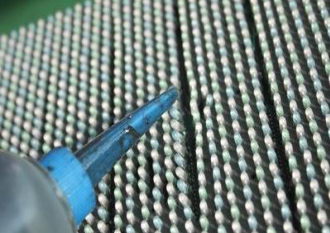
1.5 Add some silicon glue seal up the LED pins , after the silicon glue dried up , assemble the mask back.
2.2 Use tweezers take out the LED or IC.

2.3 Take spare part IC or LED, solder together with tin and fixed it on the PCB board by iron.


Electronic screw driver Multimeter


Tweezers Soldering machine


Tin thread Silicon glue
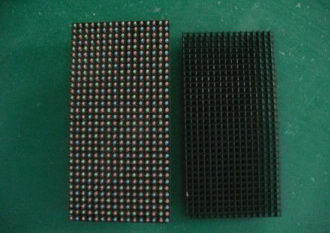
1. Replacement of the outdoor LED lamp
LED lamps do not work or light constantly, possible is the LED module issue. Check the LED module as follows.1.1 Use screwdriver take out the mask screws.

1.2 Find out the issue LED lamp, test it by multi-meter, if there is not resistance, which shows the LED lamp damaged.

1.3 Use tweezer to scoop the glue around this LED lamp, then use iron and tweezer take out the damaged LED lamp.

1.4 Take one spare part LED lamp, and test it by multi-meter, then cut the LED pins, keep the length with in 6 to 7mm, and solder it by iron.(Attention please the positive and negative poles, normally the longer pin is the positive poles, the square based hole on the PCB for positive pole)

1.5 Add some silicon glue seal up the LED pins , after the silicon glue dried up , assemble the mask back.

2. Replacement of the indoor LED lamp and IC
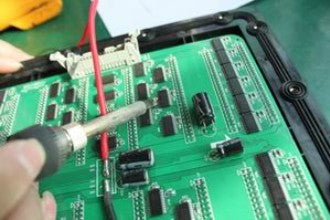
2.1 Add a little Tin then use iron make all the tin floods up the LEDs and IC melt away.
2.2 Use tweezers take out the LED or IC.

2.3 Take spare part IC or LED, solder together with tin and fixed it on the PCB board by iron.
