How to fix LED pixel?
There are some common problems for the LED display products. Such as dead pixel, cable problem, driving IC problem, circuit problem, etc. Here we will analyze dead pixel problem. Dead pixel problem could be caused by PCB problem, driving IC problem, soldering problem and LED lamp problem. When the dead pixel is caused by LED lamp problem, we just need to replace the LED with a new one. Below will show you how to replace the LED.
1) There are some tools we need to have: electric soldering iron, soldering tin wire, LED panel, and screwdriver.
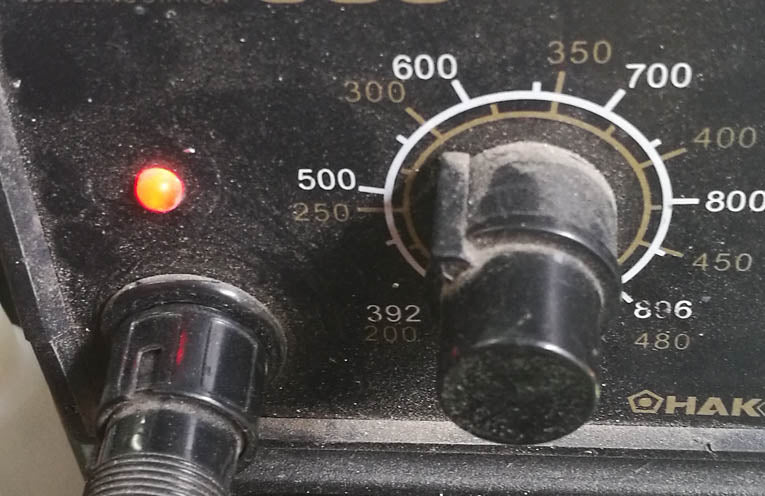
2)Turn on the electric soldering iron, make sure the temperature is between 280 degree to 300 degree.
3) Turn on the LED panel, and then test the panel in different color: red, blue, green and white. Then you will find out which one is the dead pixel.
4) Remove the plastic mask. If the panel is outdoor LED type, after the plastic mask is removed, you also need to remove the black glue on the module( indoor type of panel doesn't have glue on the panel)
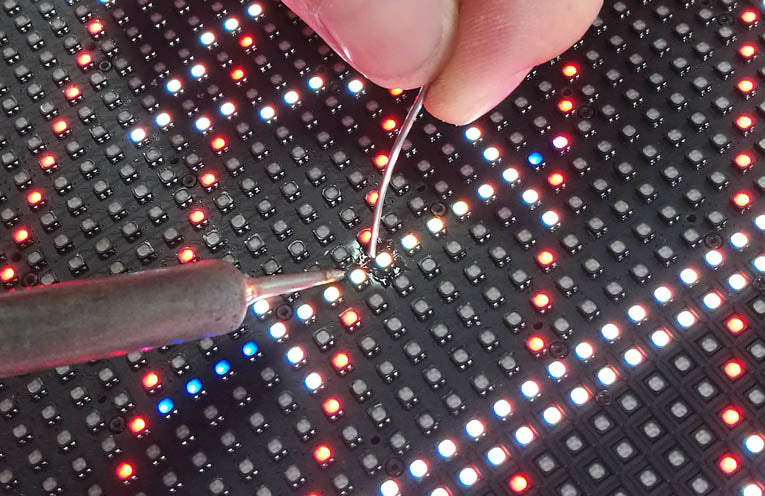
5) Put some tin wire on the soldering iron, then use the soldering iron to heat the leg of the LED. Make sure the temperature is between 280 degree to 300 degree. Meanwhile, the soldering iron can't contact the PCB for long time, because it would burn the PCB. So just be quick, heat the legs of the LED for few second, then the LED could be removed.
LED pixel
6)Use electric soldering iron to melt some tin wire and then put it on the PCB where the LED was removed. The tin soldering paste on the PCB should be very thin.
7)Get a new LED on the right position. The LED should be from the same batch so that it could have the same color and some brightness. When you put the LED on the correct position, make sure the LED is in the right direction. You could check the rest of LED on the panel and you will find out the direction of the LED. And use a clip to press the LED and make sure the LED will not move when you put the soldering paste on its leg. Don't too much soldering paste on its leg. Just a little bit of it and make the LED attach on the PCB.
8) After the LED is mounted on the PCB, if it is showing the right color, it means the problem is fixed. And then put back the glue and the mask.
1) There are some tools we need to have: electric soldering iron, soldering tin wire, LED panel, and screwdriver.
2)Turn on the electric soldering iron, make sure the temperature is between 280 degree to 300 degree.

3) Turn on the LED panel, and then test the panel in different color: red, blue, green and white. Then you will find out which one is the dead pixel.
4) Remove the plastic mask. If the panel is outdoor LED type, after the plastic mask is removed, you also need to remove the black glue on the module( indoor type of panel doesn't have glue on the panel)
5) Put some tin wire on the soldering iron, then use the soldering iron to heat the leg of the LED. Make sure the temperature is between 280 degree to 300 degree. Meanwhile, the soldering iron can't contact the PCB for long time, because it would burn the PCB. So just be quick, heat the legs of the LED for few second, then the LED could be removed.

LED pixel
6)Use electric soldering iron to melt some tin wire and then put it on the PCB where the LED was removed. The tin soldering paste on the PCB should be very thin.
7)Get a new LED on the right position. The LED should be from the same batch so that it could have the same color and some brightness. When you put the LED on the correct position, make sure the LED is in the right direction. You could check the rest of LED on the panel and you will find out the direction of the LED. And use a clip to press the LED and make sure the LED will not move when you put the soldering paste on its leg. Don't too much soldering paste on its leg. Just a little bit of it and make the LED attach on the PCB.
8) After the LED is mounted on the PCB, if it is showing the right color, it means the problem is fixed. And then put back the glue and the mask.